> ## Documentation Index
> Fetch the complete documentation index at: https://support.amplify.xyz/llms.txt
> Use this file to discover all available pages before exploring further.
# SCIM Setup with Azure Active Directory
> Configure SCIM provisioning with Azure AD to automatically sync users and roles with Amplify.
## Overview
SCIM (System for Cross-domain Identity Management) enables automatic user provisioning and deprovisioning between Azure Active Directory and Amplify.
This guide walks you through setting up SCIM provisioning using Azure AD.
***
## Create Enterprise Application in Azure
1. Go to **Azure Portal → Azure Active Directory → Enterprise Applications**
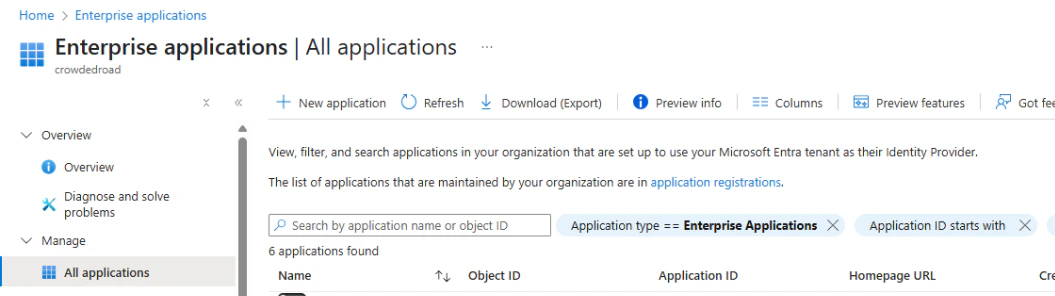 1. Click **+ New Application**
2. Select **Create your own application**
3. Enter a name (e.g., *“Your App SCIM Provisioning”*)
4. Choose:
> **Integrate any other application you don’t find in the gallery**
5. Click **Create**
***
## Configure SCIM Provisioning
1. Click **+ New Application**
2. Select **Create your own application**
3. Enter a name (e.g., *“Your App SCIM Provisioning”*)
4. Choose:
> **Integrate any other application you don’t find in the gallery**
5. Click **Create**
***
## Configure SCIM Provisioning
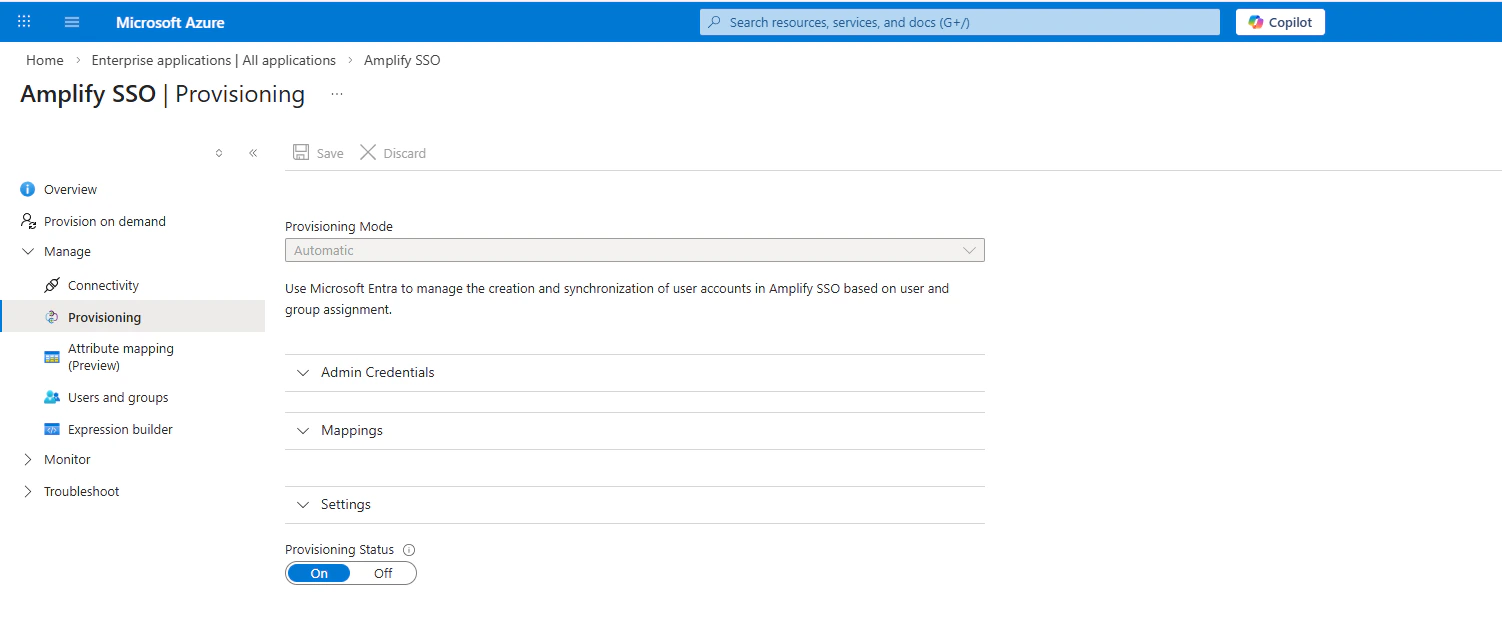 1. Open the created enterprise application
2. Navigate to **Provisioning** → Click **Get started**
3. Set **Provisioning Mode** to `Automatic`
### Enter the following details:
* **Tenant URL**
[https://api.amplify.xyz/api/scim/azure](https://api.amplify.xyz/api/scim/azure)
* **Secret Token**
Amplify credentials
Credential format matters Make sure the Secret Token follows the exact format:\
`{{email:password}}`
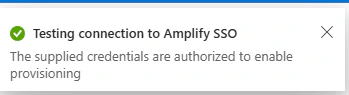
4. Click **Test Connection**
* You should see: **“Connection successful”**\
\\
1. Open the created enterprise application
2. Navigate to **Provisioning** → Click **Get started**
3. Set **Provisioning Mode** to `Automatic`
### Enter the following details:
* **Tenant URL**
[https://api.amplify.xyz/api/scim/azure](https://api.amplify.xyz/api/scim/azure)
* **Secret Token**
Amplify credentials
Credential format matters Make sure the Secret Token follows the exact format:\
`{{email:password}}`
4. Click **Test Connection**
* You should see: **“Connection successful”**\
\\
 5. Set **Scope**:
* `Sync only assigned users and groups`\\
5. Set **Scope**:
* `Sync only assigned users and groups`\\
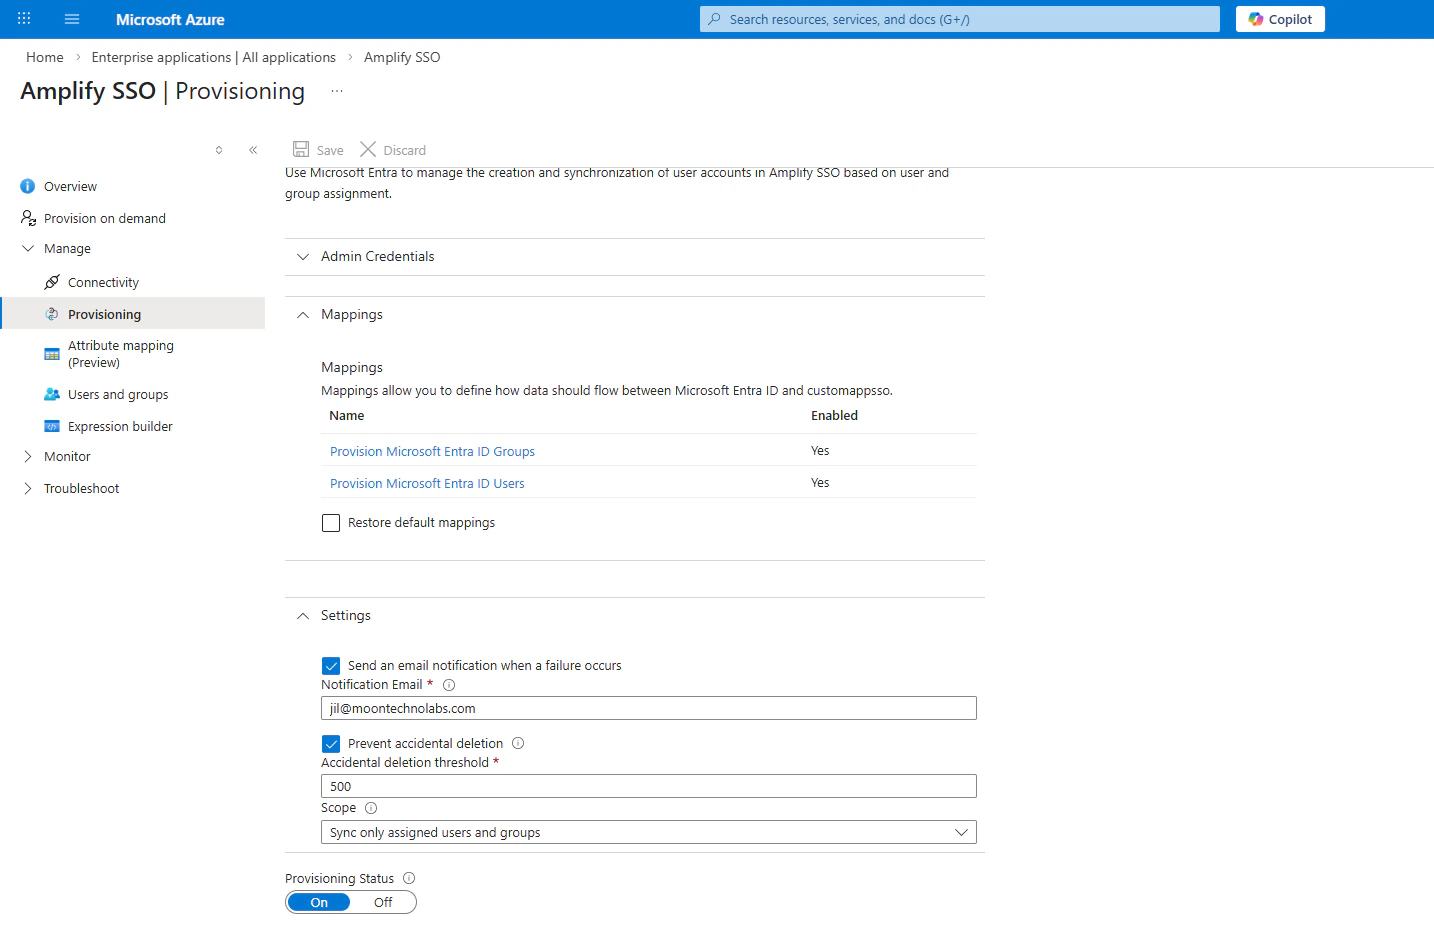 6. Click **Save**
***
## Assign Users
To assign users for provisioning:
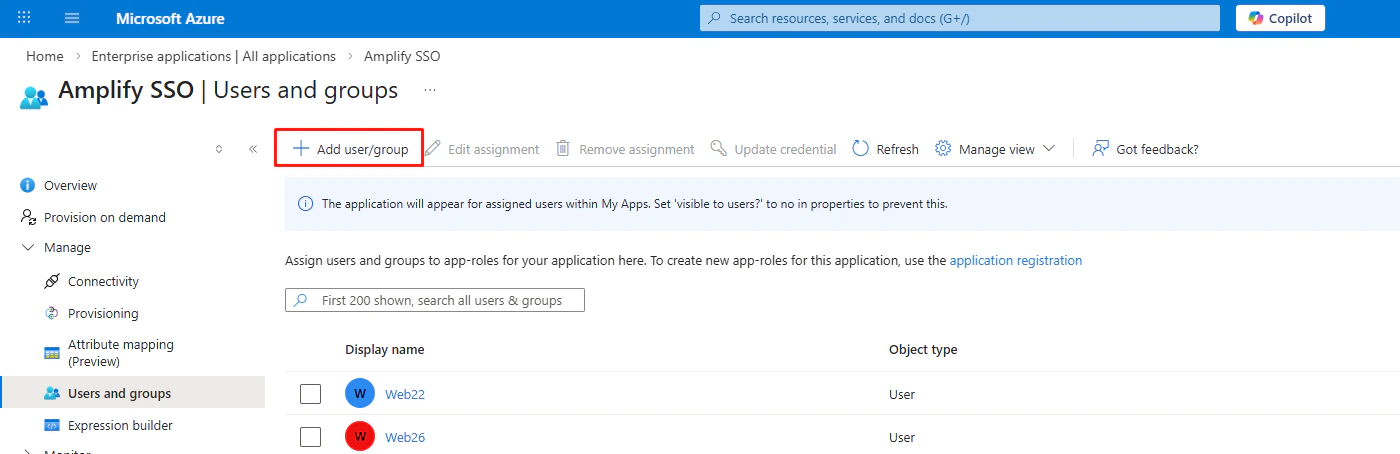
1. Go to **Users** in the application
2. Click **+ Add user**\
\\
6. Click **Save**
***
## Assign Users
To assign users for provisioning:
1. Go to **Users** in the application
2. Click **+ Add user**\
\\
 ### Important\\
\\
### Important\\
\\
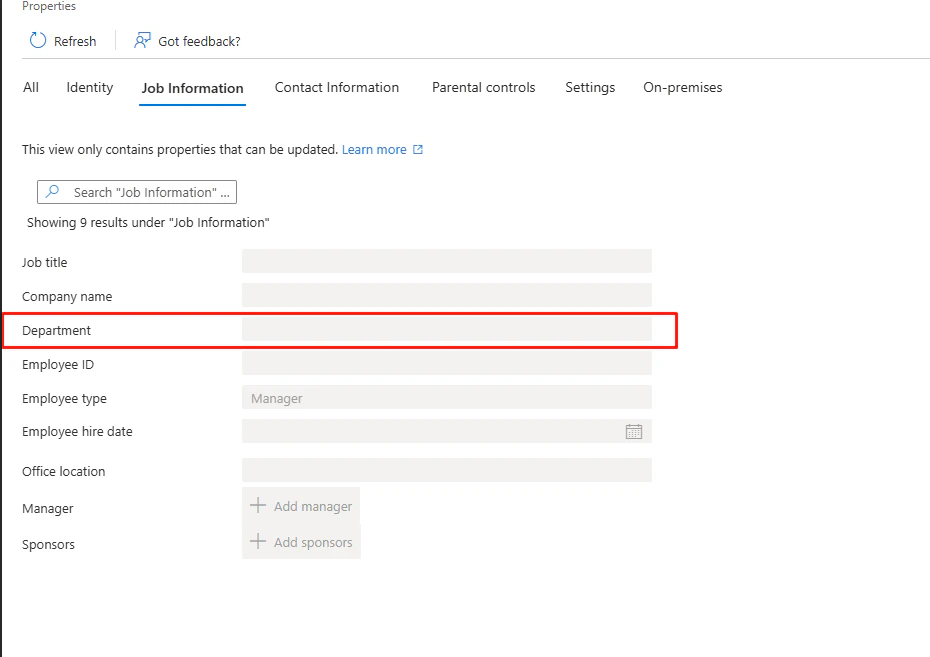 Role mapping Add a **Department** for the user to manage roles in Amplify.\
Ensure a role with the same name exists in Amplify.
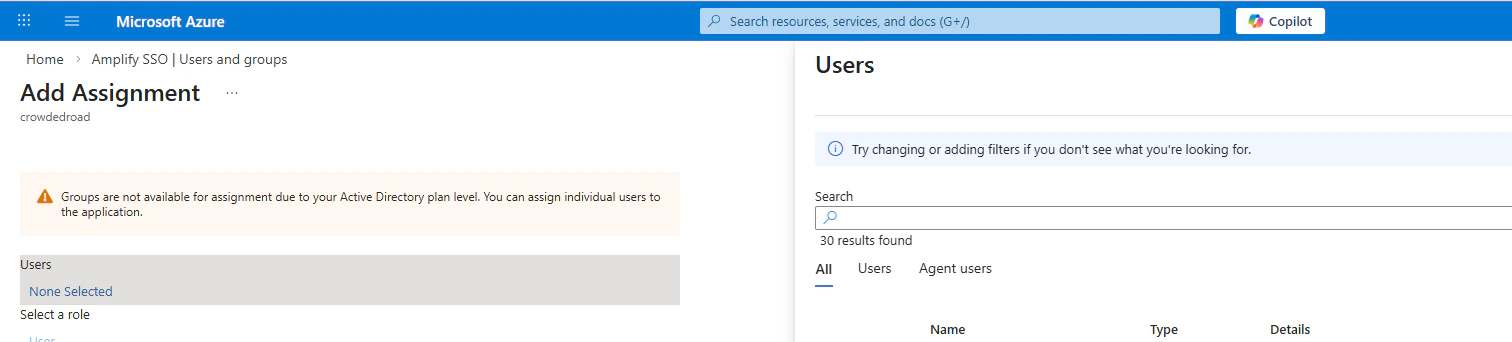
3. Select users to provision to your application
4. Click **Assign**\
\\
Role mapping Add a **Department** for the user to manage roles in Amplify.\
Ensure a role with the same name exists in Amplify.
3. Select users to provision to your application
4. Click **Assign**\
\\
 ***
## Enable and Monitor Provisioning
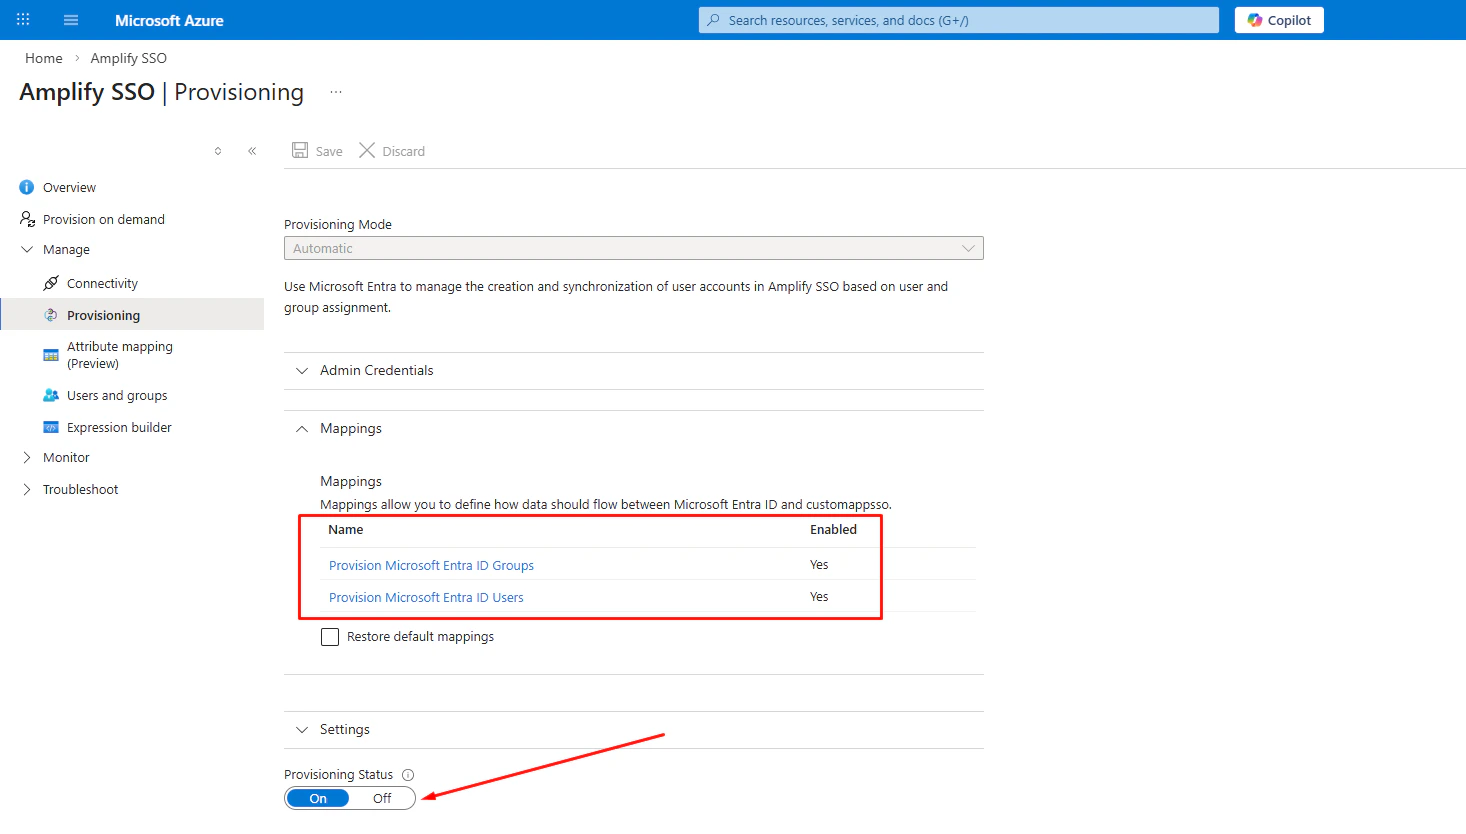
1. Go to **Provisioning**
2. Set **Provisioning Status** to `On`
3. Click **Save**
***
## What Happens Next
* Azure will begin syncing users automatically
* Sync runs approximately every **40 minutes**
* Users and role mappings will be reflected in Amplify\
\\
***
## Enable and Monitor Provisioning
1. Go to **Provisioning**
2. Set **Provisioning Status** to `On`
3. Click **Save**
***
## What Happens Next
* Azure will begin syncing users automatically
* Sync runs approximately every **40 minutes**
* Users and role mappings will be reflected in Amplify\
\\