Overview
SCIM (System for Cross-domain Identity Management) enables automatic user provisioning and deprovisioning between Azure Active Directory and Amplify. This guide walks you through setting up SCIM provisioning using Azure AD.Create Enterprise Application in Azure
- Go to Azure Portal → Azure Active Directory → Enterprise Applications
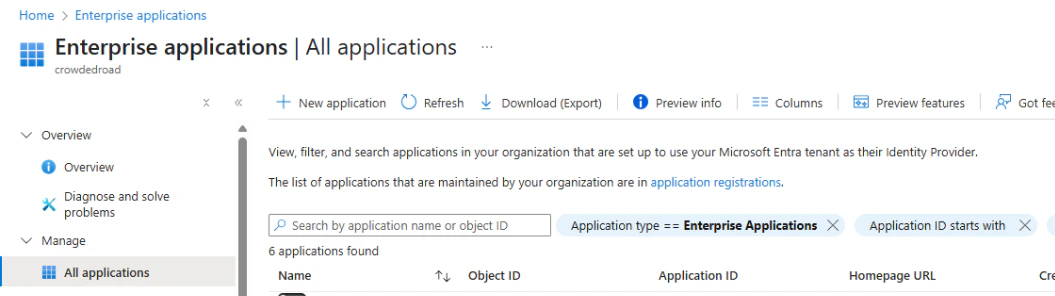
- Click + New Application
- Select Create your own application
- Enter a name (e.g., “Your App SCIM Provisioning”)
- Choose:
Integrate any other application you don’t find in the gallery
- Click Create
Configure SCIM Provisioning
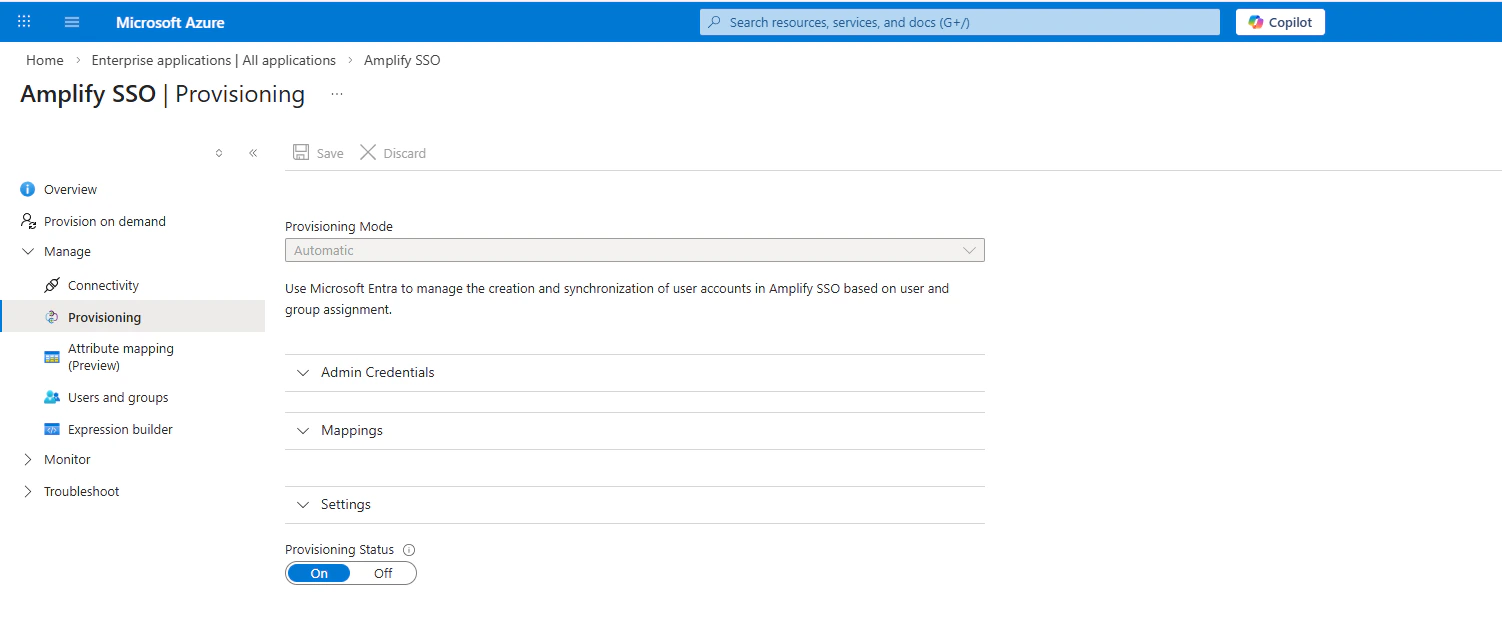
- Open the created enterprise application
- Navigate to Provisioning → Click Get started
- Set Provisioning Mode to
Automatic
Enter the following details:
- Tenant URL
- Secret Token
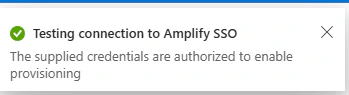
- Click Test Connection
- You should see: “Connection successful”
\
- Set Scope:
Sync only assigned users and groups\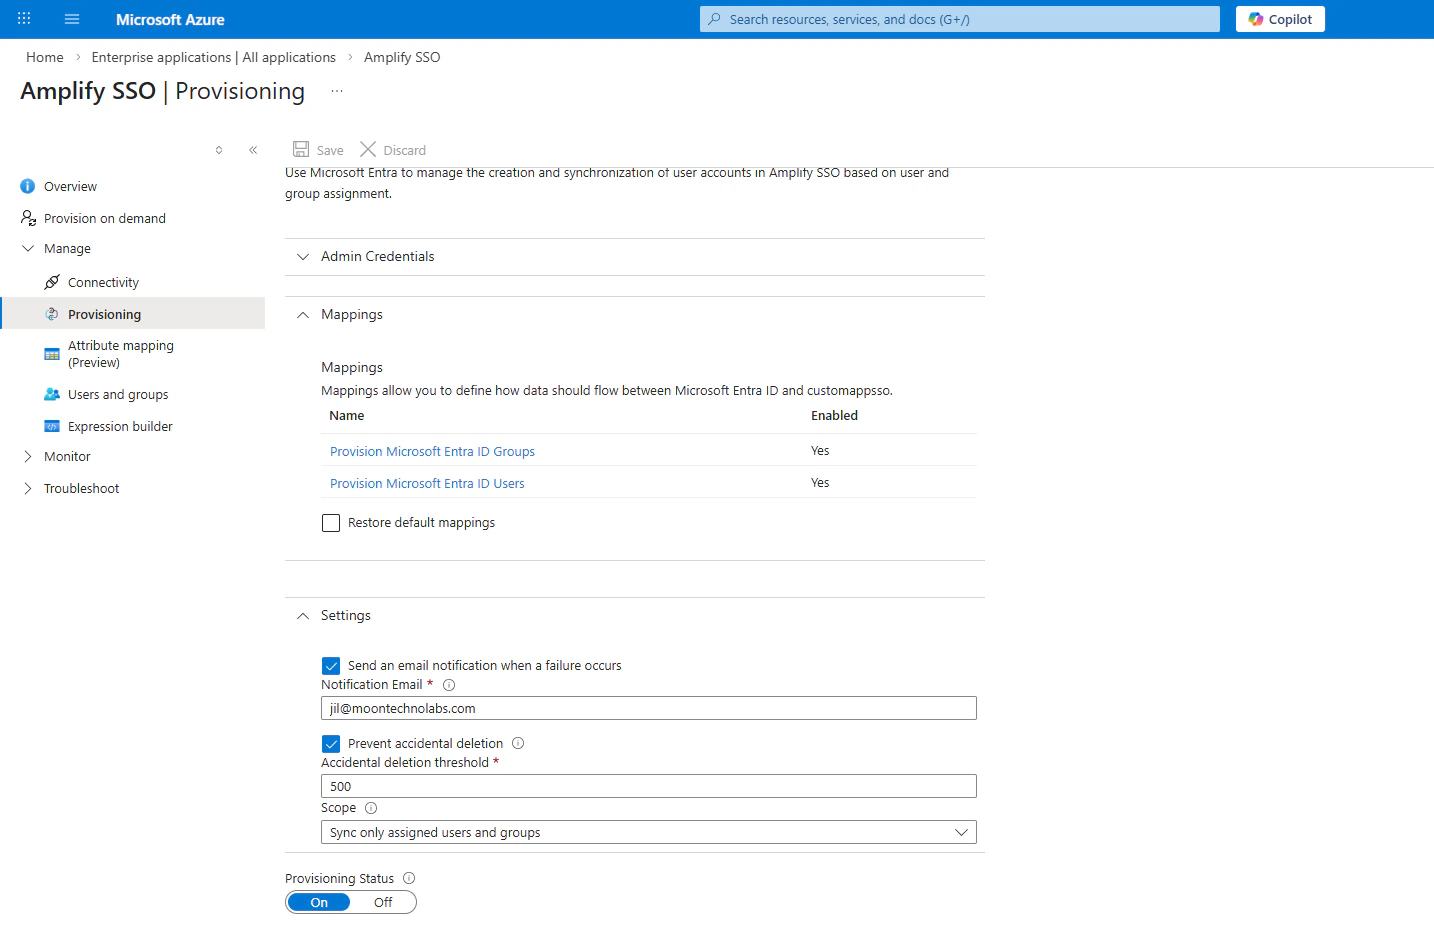
- Click Save
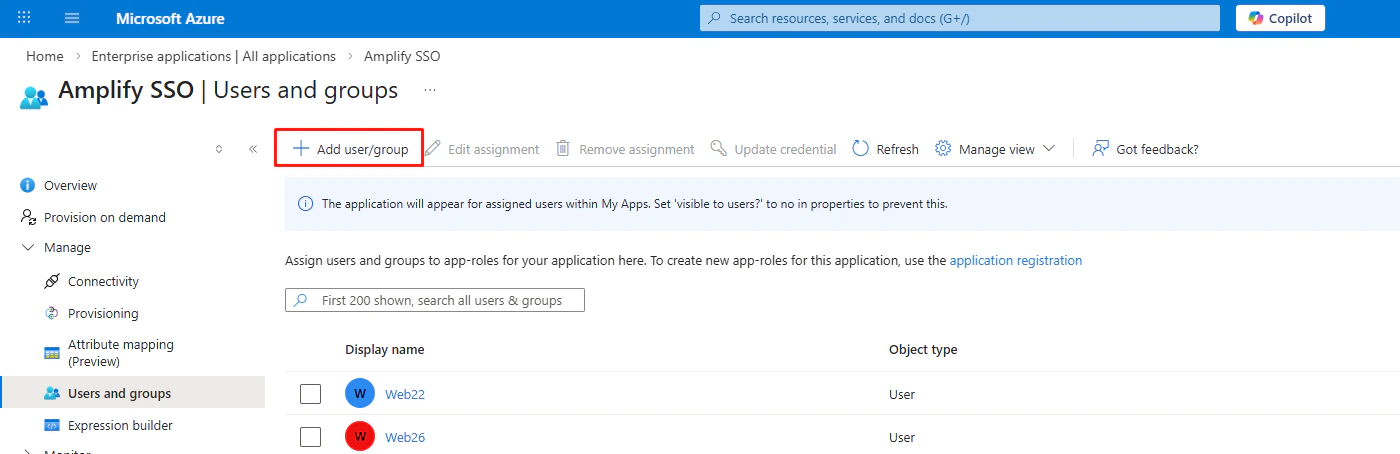
Assign Users
To assign users for provisioning:- Go to Users in the application
- Click + Add user
\
Important\
\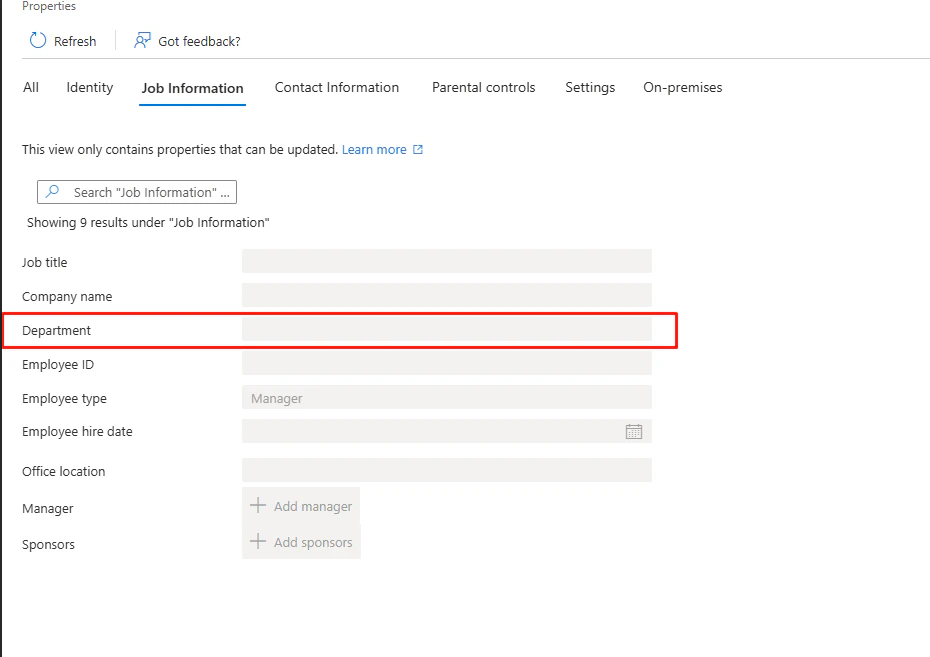
Role mapping Add a Department for the user to manage roles in Amplify.
Ensure a role with the same name exists in Amplify.
Ensure a role with the same name exists in Amplify.
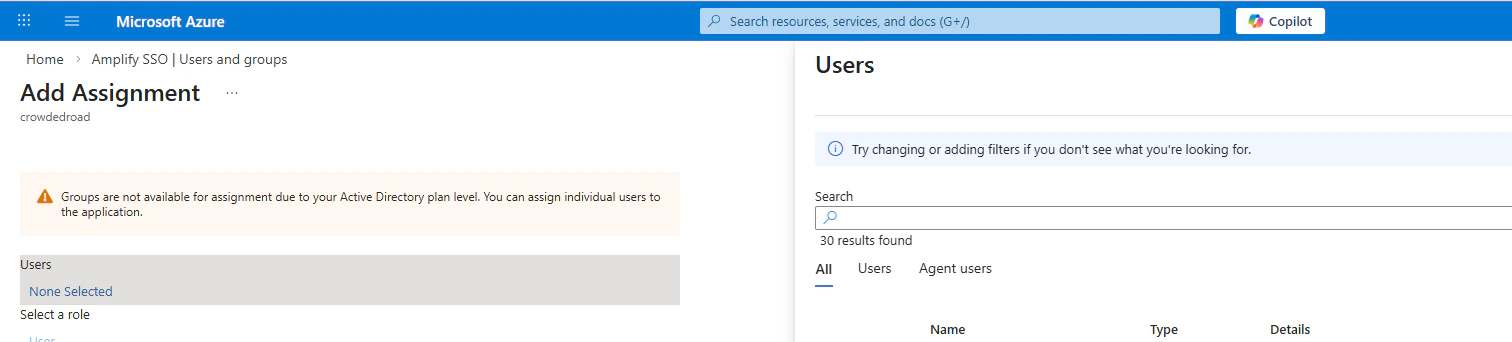
- Select users to provision to your application
- Click Assign
\
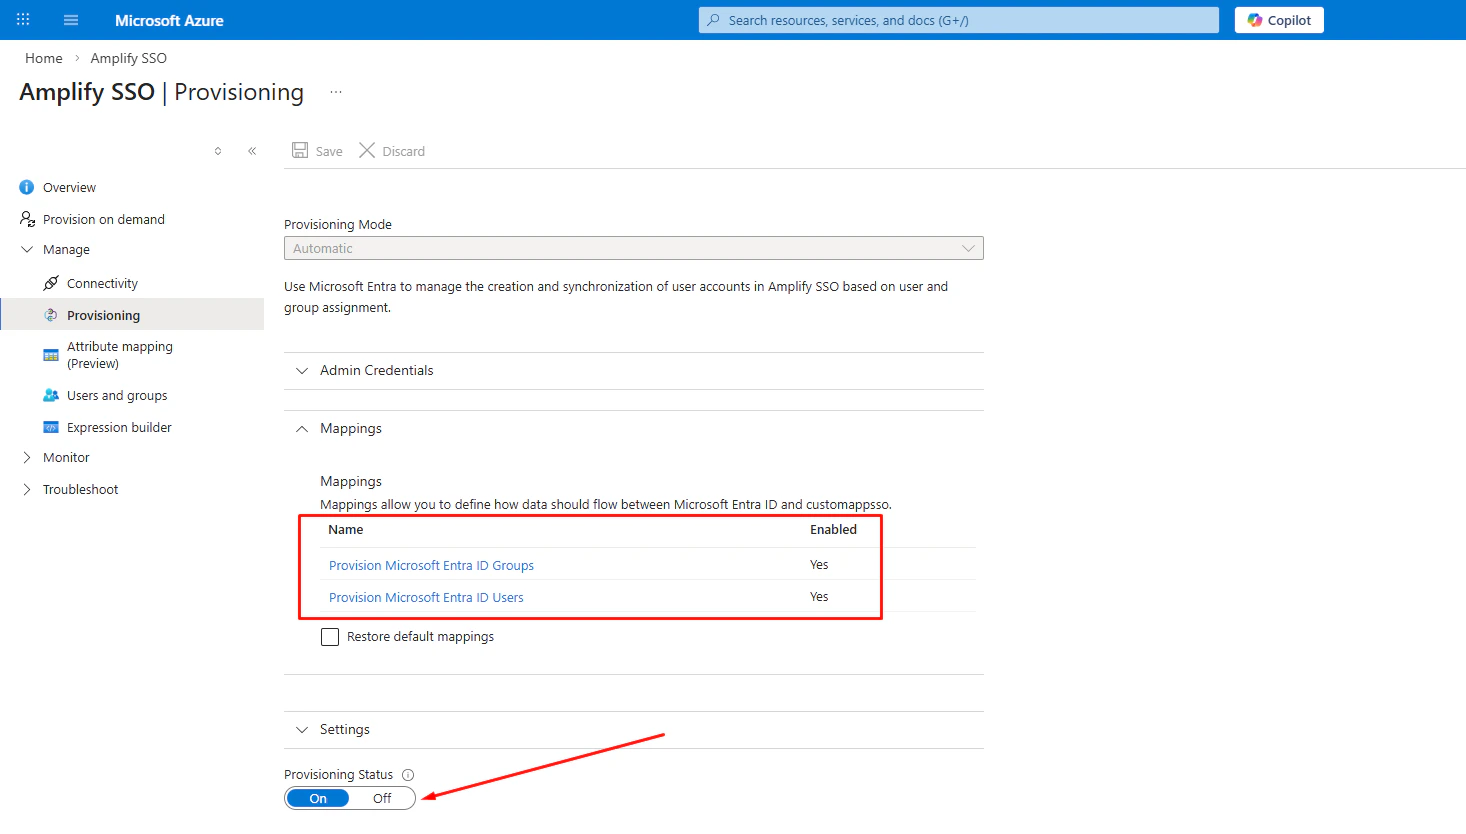
Enable and Monitor Provisioning
- Go to Provisioning
- Set Provisioning Status to
On - Click Save
What Happens Next
- Azure will begin syncing users automatically
- Sync runs approximately every 40 minutes
- Users and role mappings will be reflected in Amplify
\