

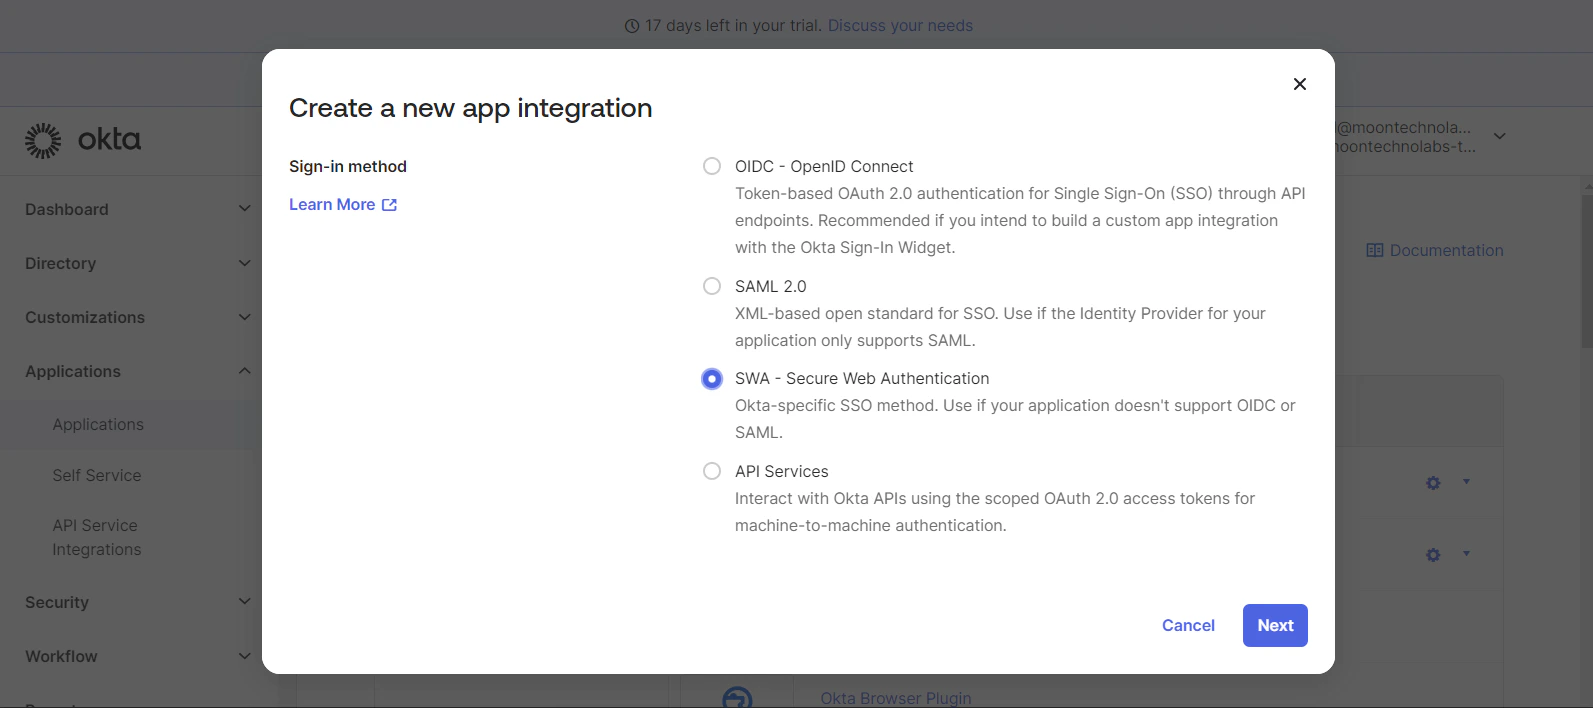
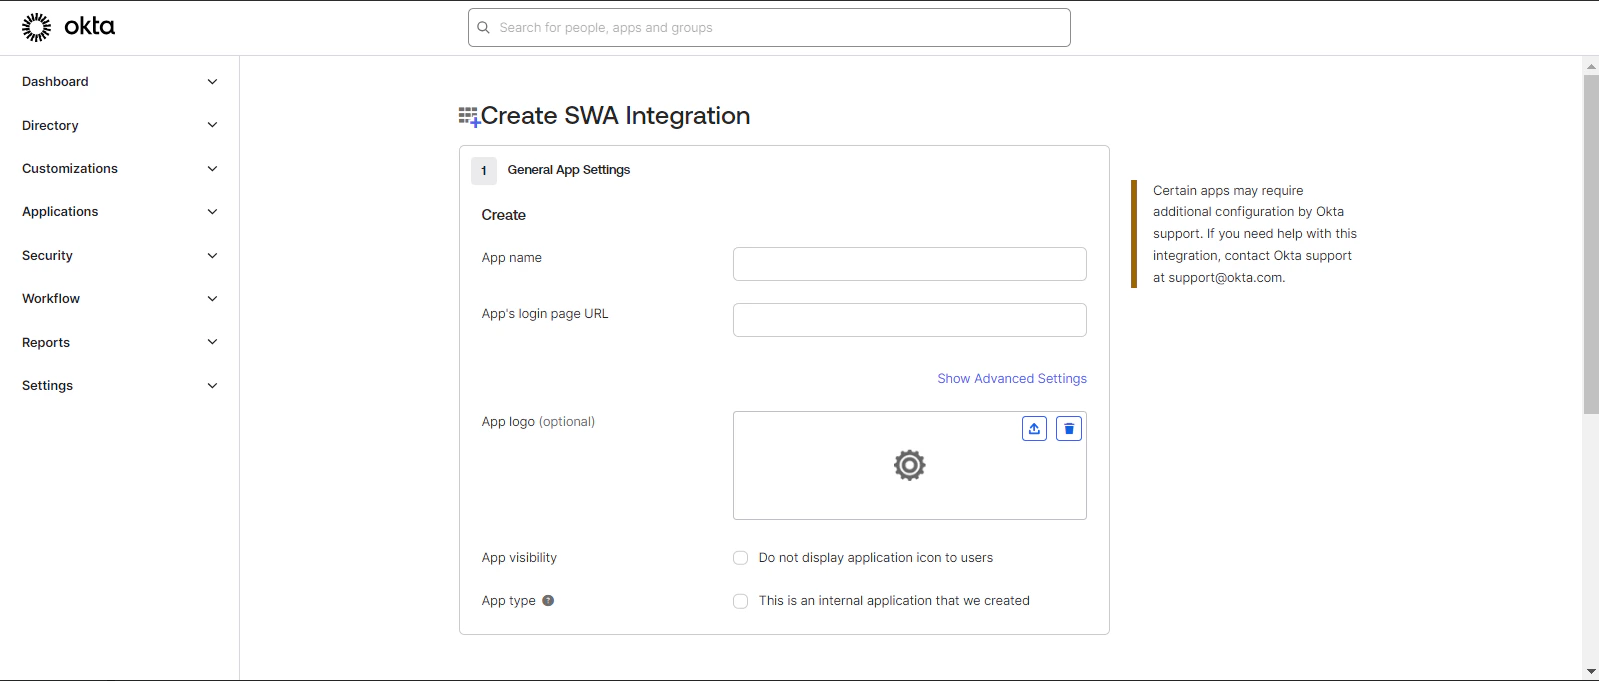
Setup SWA App
Go to Application > Create App Integration.
App’s login page URL: https://ifaxapp.com/login/
Setup Provisioning
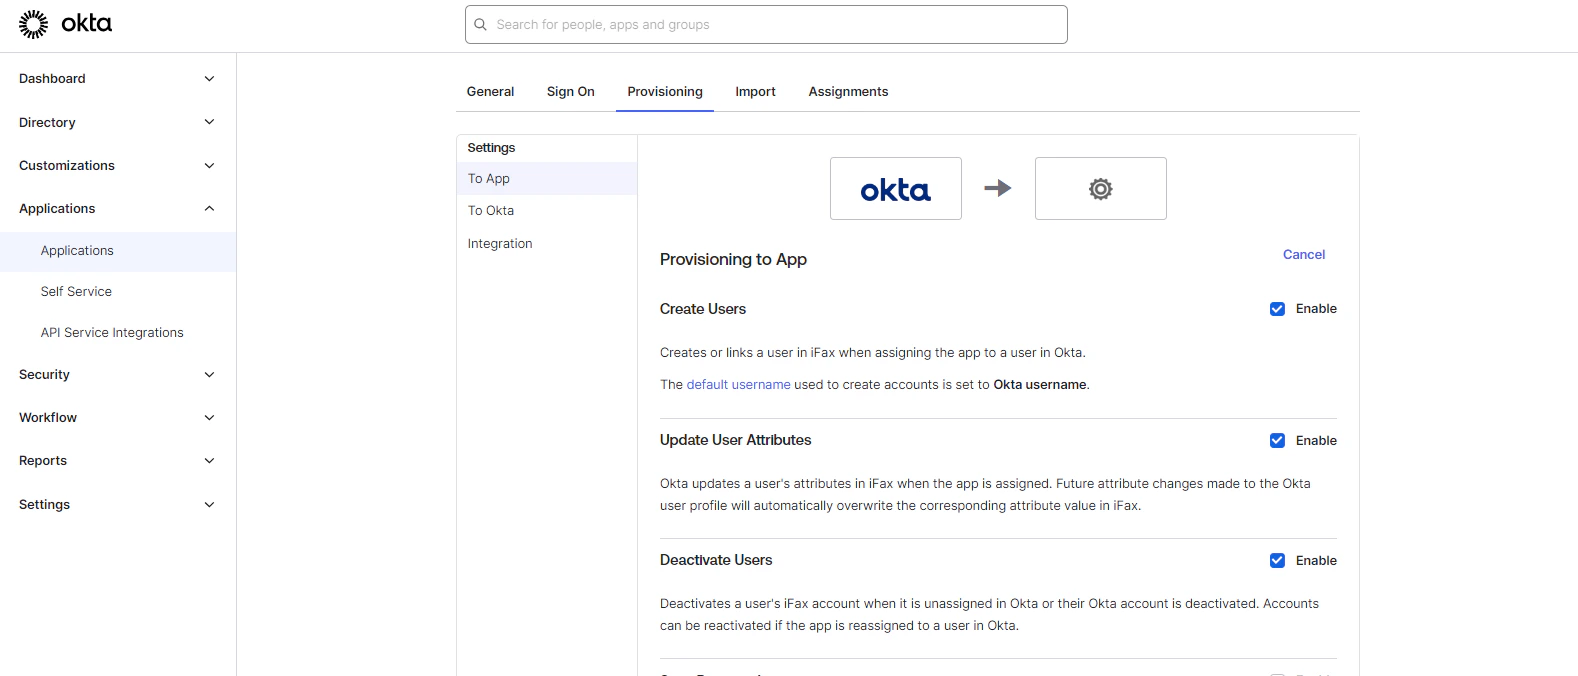
You can set up provisioning for the app with the following steps: Go to Provisioning > Integration and click Edit.Manage SCIM Connection
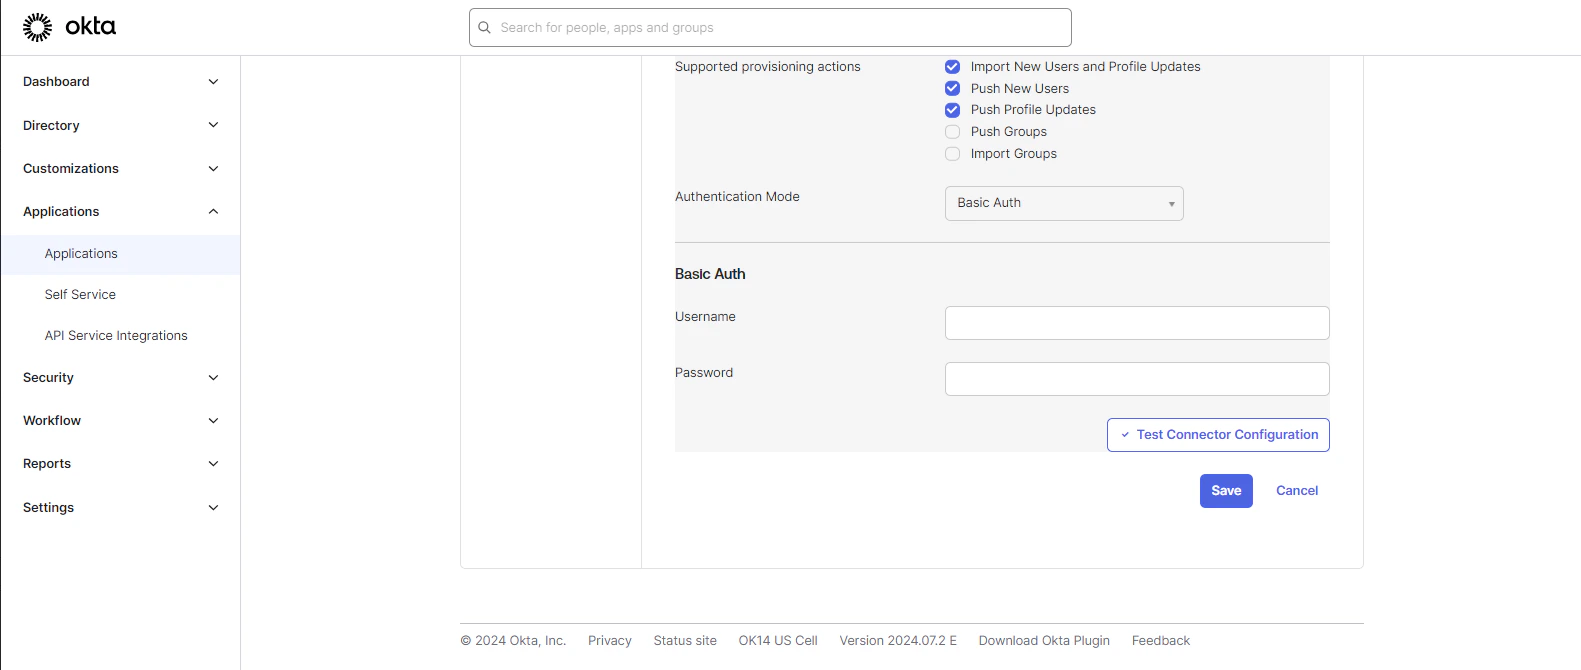
SCIM connector base URL: https://www.ifaxapp.com/live/Oktawebhook/index\\ Unique identifier field for users: userNameSupported provisioning actions:
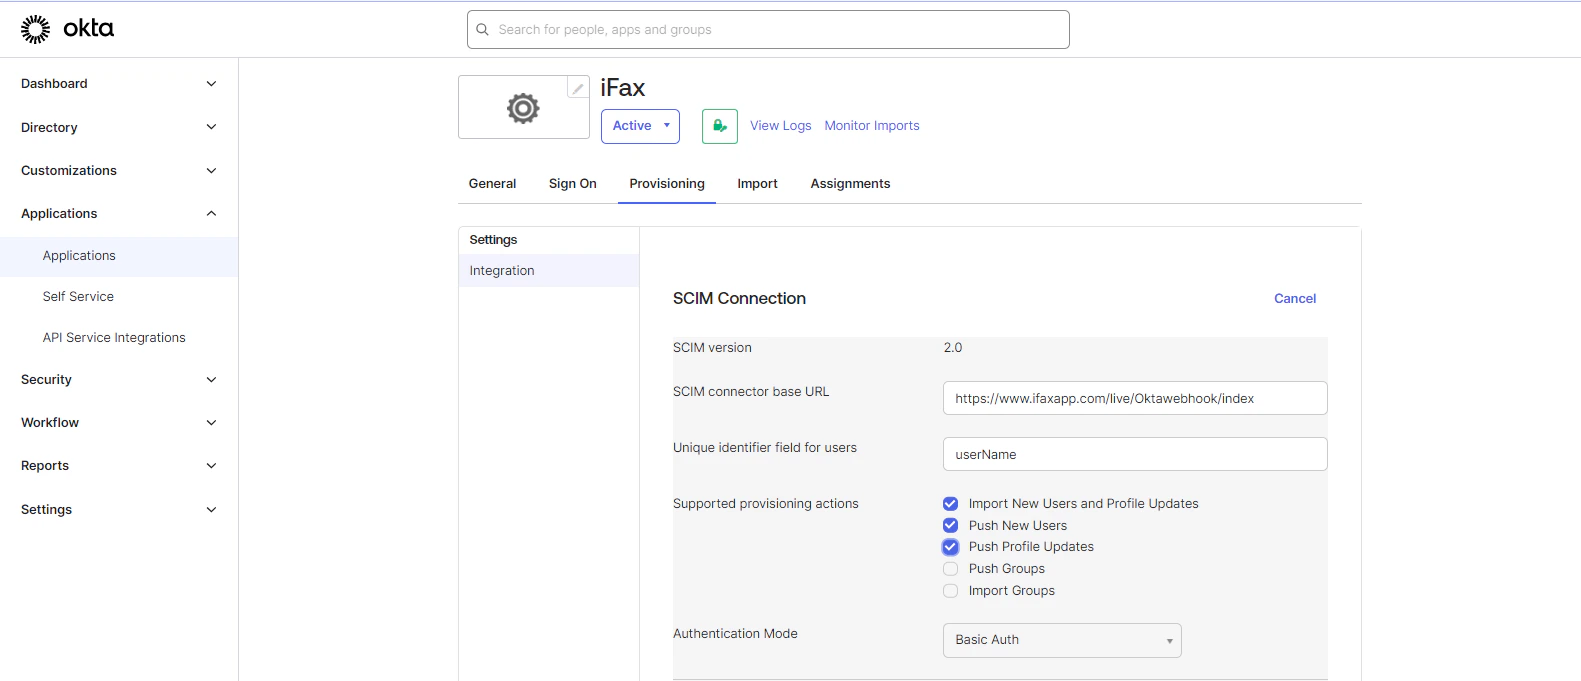
Import New Users and Profile Updates, Push New Users, Push Profile Updates Select Authentication Mode: Basic Auth You need to add Amplify credentials. Username: Amplify Email
Password: Amplify Password
Update User Attributes
Deactivate Users
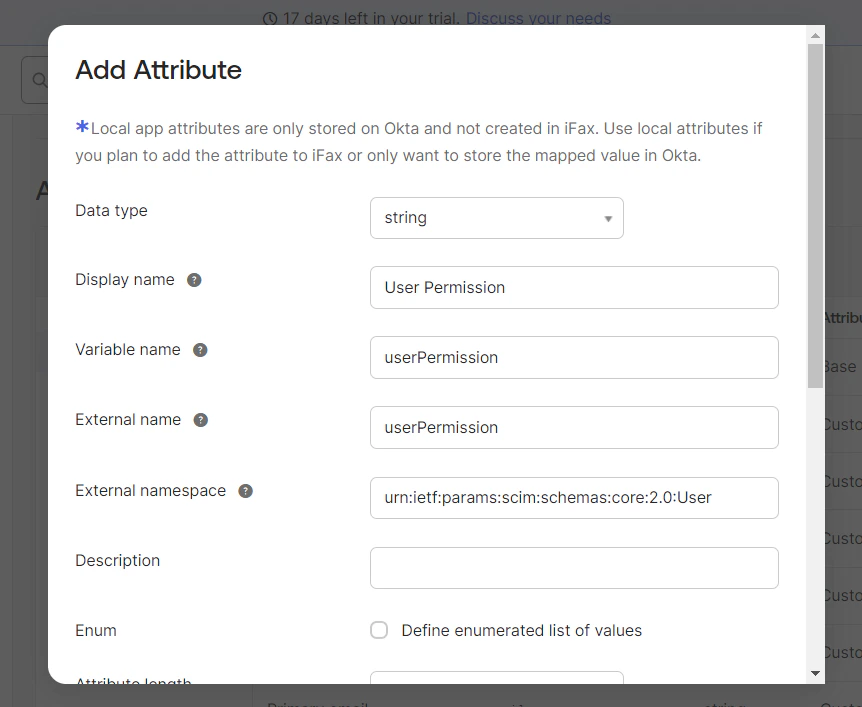
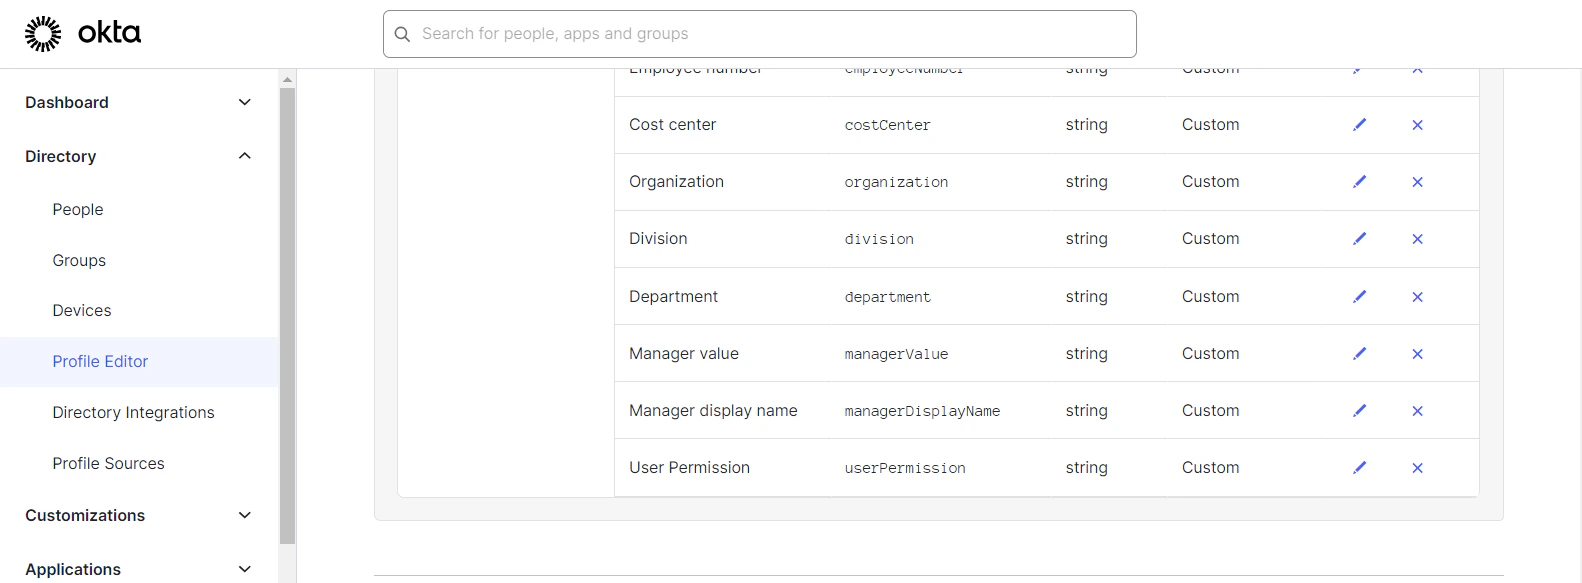
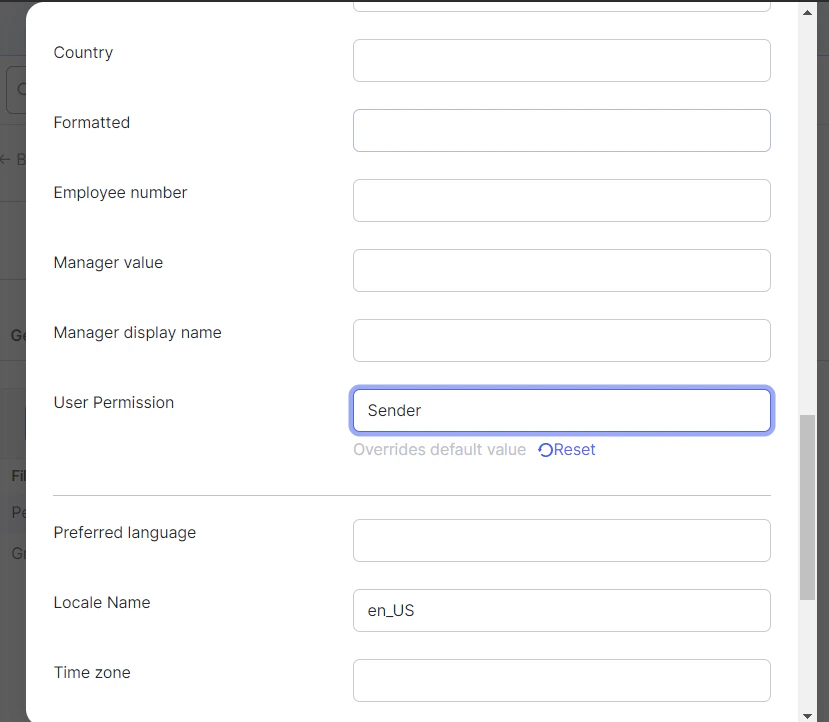
Add Attribute for Permission
To add a custom attribute for permission, follow these steps: Go to Profile Editor Search for your app.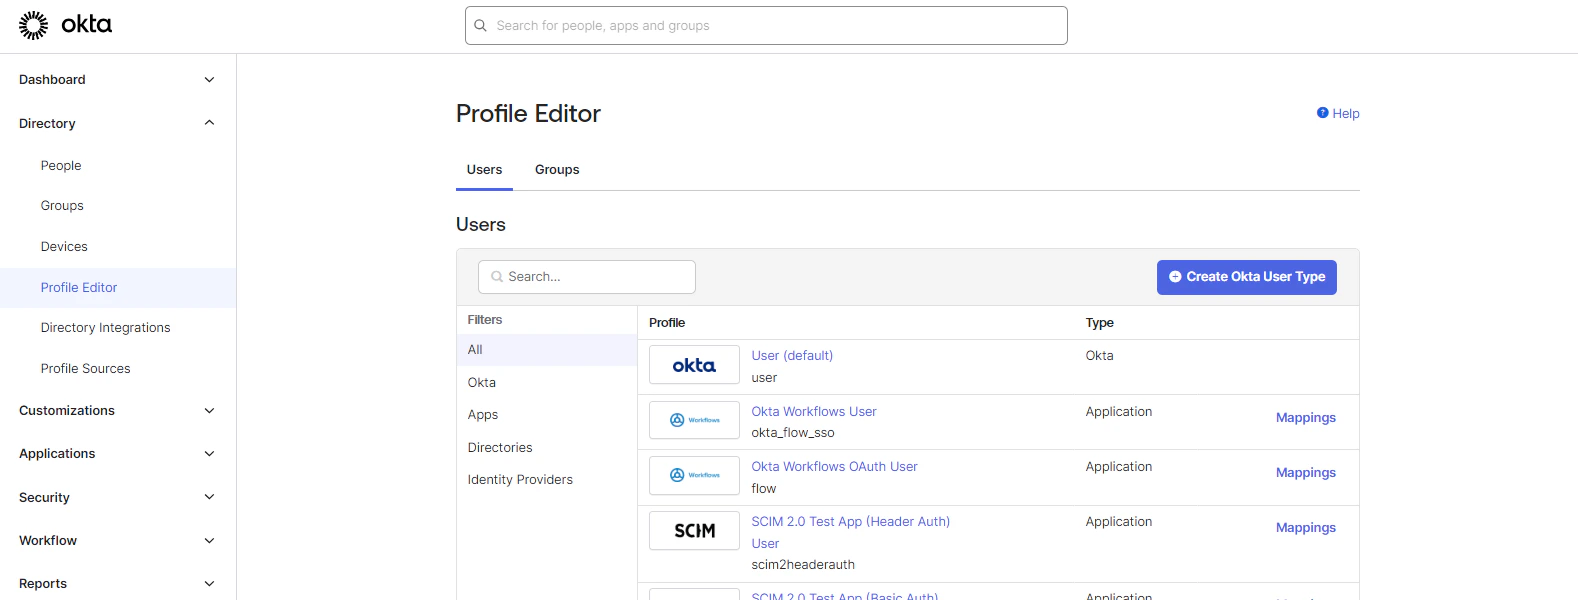
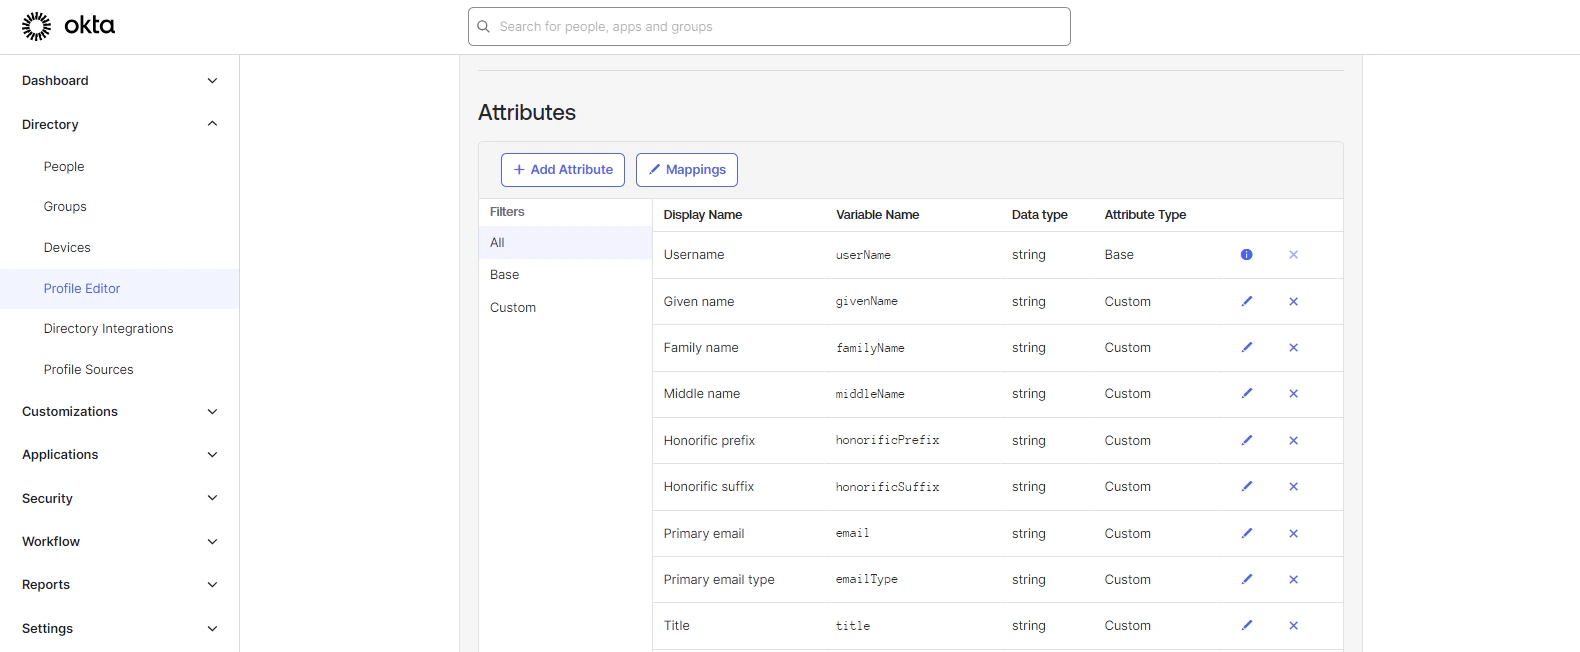
Display Name: User Permission
Variable Name: userPermission
External Name: userPermission
External Namespace: urn:ietf:params:scim:schemas:core:2.0:User
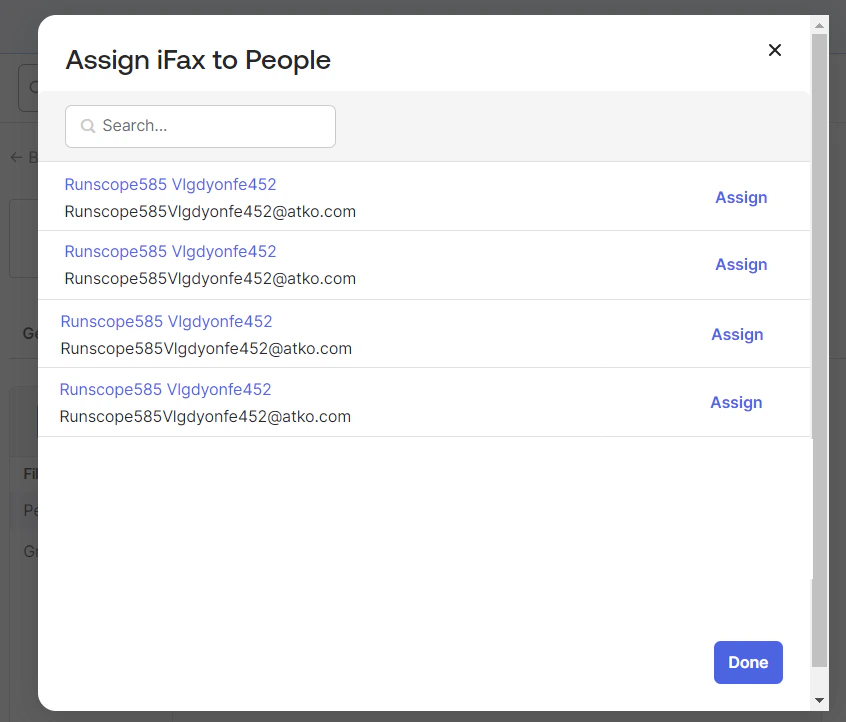
Assign Or Delete User
To add a user, follow these steps: Go to People > Add Person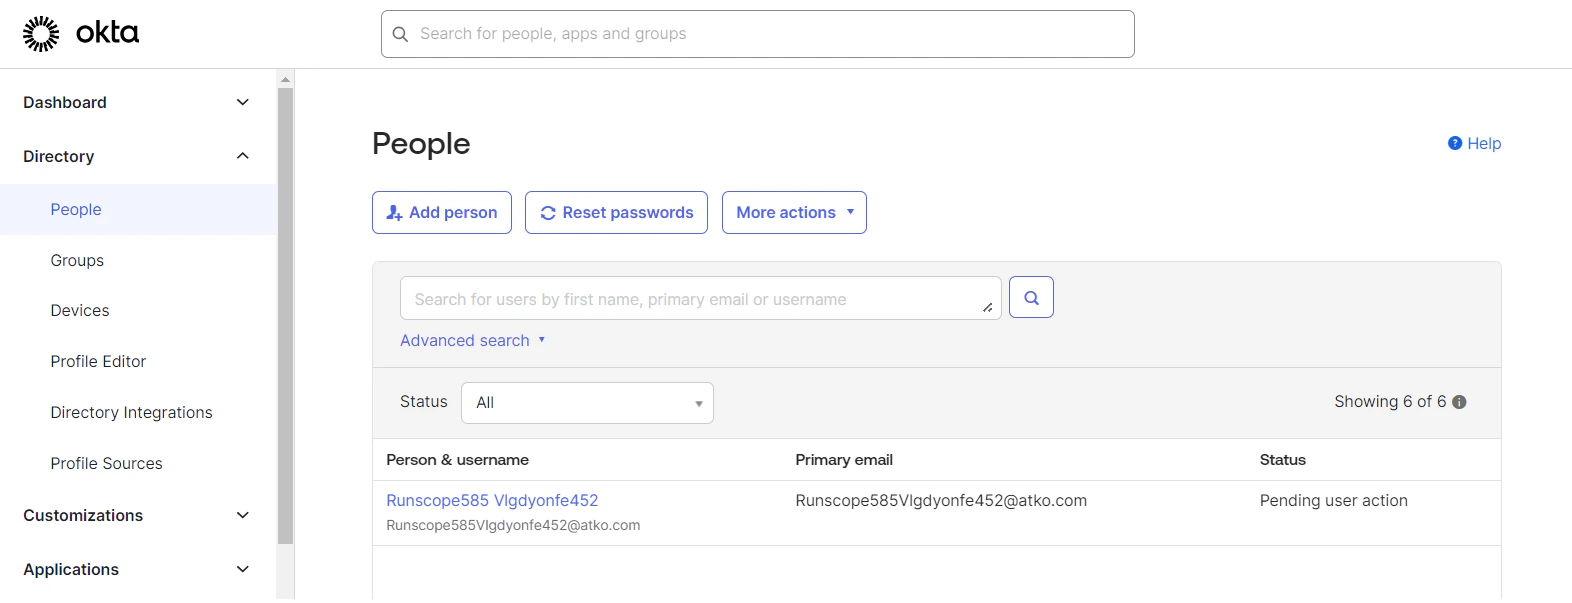
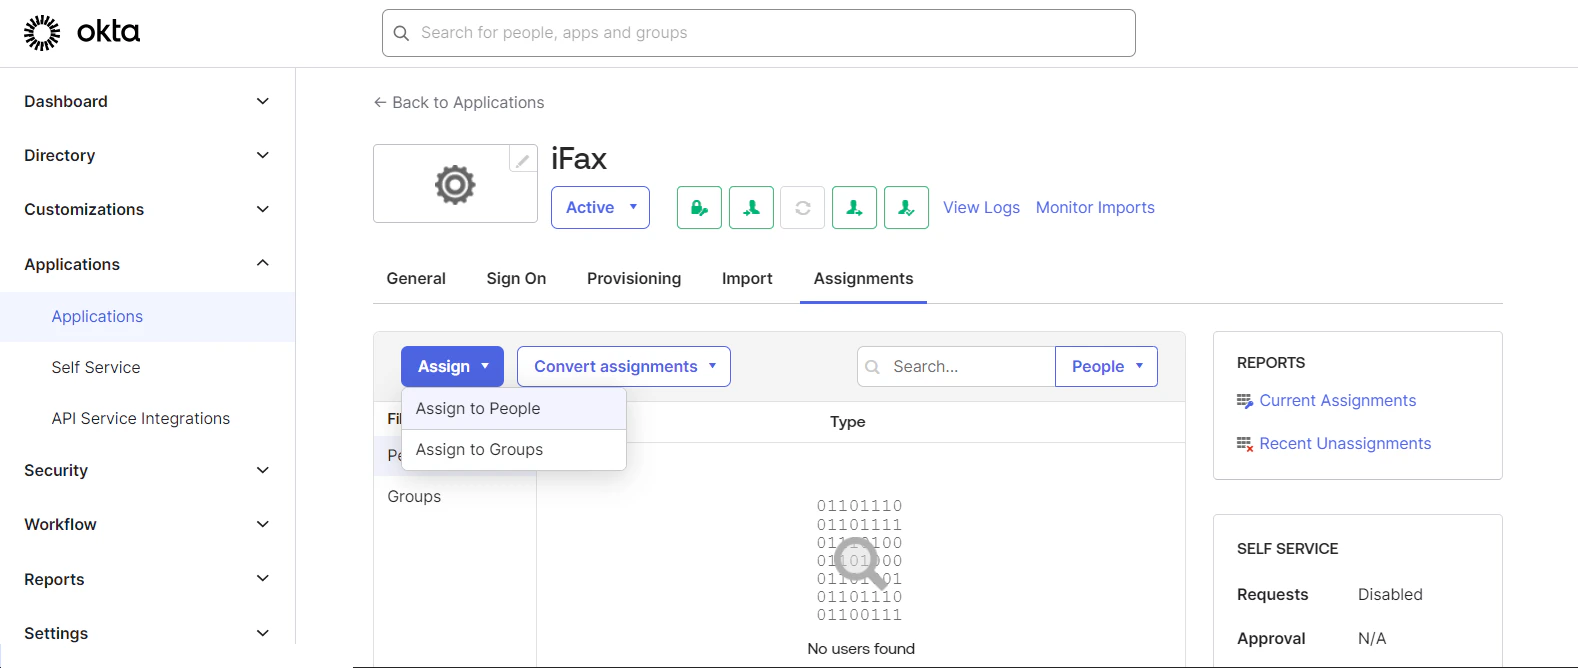
All permissions will be assigned to the user based on this group.